


ditchman
-
Posts
25,473 -
Joined
-
Last visited
Content Type
Profiles
Forums
Calendar
PW Shop
Posts posted by ditchman
-
-
This guy has some serious skill set to figure out how to do this.
damn right ........puts me to shame, compared to that ....cracking stuff

-
at the "not until everything's settled down" statement I'd have been moving back out!

well spotted...dont like the sound of that...and HER family prompting to get her feet under the table and excert a bit more control..............dump her ASAP.......
-
Nice build that ditchman
Have done some bsa rebuilds and used black silk on the ali.fantastic to see a springer rebuild.Do you ever redo the chequering !
thats interesting...may well do that...
Could show you how and then you could borrow tools if you ever down this way,kettle would be on.
kind offer.....if i get round to fettling the engine on the landy in the summer i may well do that ...cheers...
-
Nice build that ditchman
Have done some bsa rebuilds and used black silk on the ali.fantastic to see a springer rebuild.Do you ever redo the chequering !
noooo that is to much beyond me.....dont forget your are talking to an intinerant/fiddler/tinker.................i just "do" stuff....
come to think of it ...i did have a go at chequering some time ago......i used a specal tool called "a belt sander".....................i thought to myself whilst i was doing it....." well i ask you...what a stupid place to put fancy chequering"
-
Looks like it's had an ox spring fitted at some time maybe?
you may well be right....i have ordered up a Titan for it ...an XS....so hopefully it wont shake it apart...i did shot/fire ita couple of times and it didnt feel like an ox spring....they can be too harsh...
-
Hi ditchman I am following your Mercury S rebuild with interest particularly the bit about the waggly barrel and how you resolved it. I have an old Mercury S as you know and it has v slight play when closed I had the the lock up parts replaced by a gunsmith with parts from John Knibbs but no improvement. The missing spacer and washer on the swivel pin where should they be located? I wonder if that's the problem I have shot the rifle with open sights only so no accuracy issues but wonder if I can improve on the lock up and have it 100 percent like your own.When I bought a Stalker Arms Tiger Cub new I also bought pellets from the maker the old blue eley wasps which have a thicker skirt than the newer bisley wasps I only have about100 left but you are welcome to them if you fancy trying them out when your project is finished
right to tighten the barrell
- disconnect cocking lever
- undo the barrel pivot nut and bolt...(i had to make atool to hold the slotted nut
- use pliers to pull out detante spring lock
- clean....polish the lock with very very fine emery paper
- get small flat block and cover with fine emery paper
- flat clean with a bit of petrol or thinners either side of barrel block where the bolt goes thro
- re-assemble detante lock with grease packed into the spring
- slide the bolt thro the proper side (left)...sorry i think it is the right side...it wont fit from the other side
- do not put any washers on this side
- add spacer washer and sping flat washer
- screw up till tight
the bolt is slightly longer/wider than the width of the main body....so a spacer washer must be added.......im waiting for mine to come ...i think its compresserble .....then you add the round nut with the slot and do up tight.......that will bring the "ears" of the main body together ...tight up to either side of the barrell....
im still waiting for my replacement parts to come so what i did was to put it a thin flat washer then a thick split washer then a thin flat washer with the nut screwed up....the lock washer /split washer acted like a strong spring.........if it is all right the nut will screw down full lenght and lock itself off when it meets the end of the threads...the slotted nut will be flat with the end of the bolt if yoou have got it right......................
-
JDog will be along in a minit and all will be sorted ..
-
and it will be "none too shabby "...no doubt ...

-
does it have bright red flowers.....or rather did it ?
-
Nice job DM.
What stain range do so use, and which oil will it get finished with?
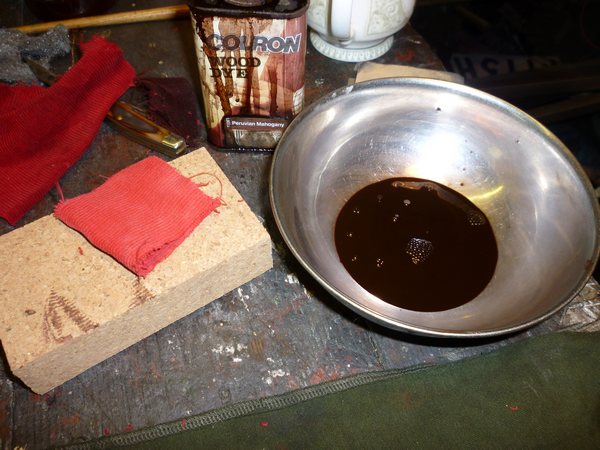
mahogany...and a mixture of dark oak and walnut......the walnut has a very slight bluey tinge to it.......Rustins
oil is a mixture of boiled linseed oil am stuff...............................when you start to oil it mixes with the base layer and it does come off a bit but as the rubbing oil is stained you dont notice....just have to keep working it................i have found using this method on walnut ...the grain dont lift at all...i havnt touched it since the stripping and sanding and is still glassy smooth...............this is walnut...
however beech is something different...and i use quite a harsh method to get it right
please let me tell you im no stock finisher...ive done this more than several times and mostly thro luck and persiverance i get what i want..........................if you want advice on a special gun of your own....get proper advice from some of the boys on here who really know their stuff,,
-
-
Bruno.....i have a good supply of the old original milbro.....they are different now...and seem to fit the breech nicely....but until i can get it up and running i wont know....so i daresay i will be trying a few........
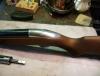
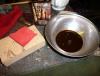
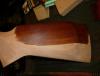
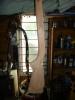
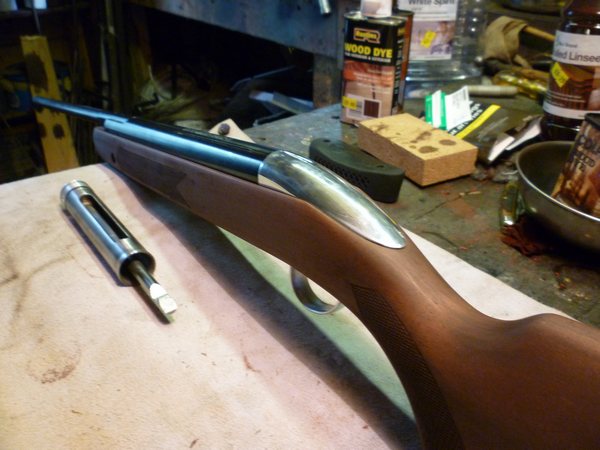
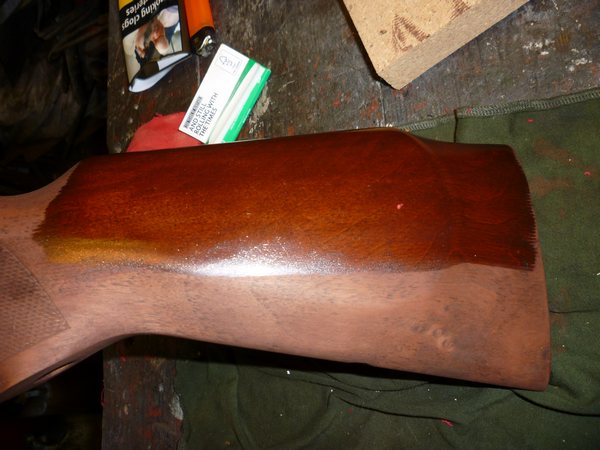
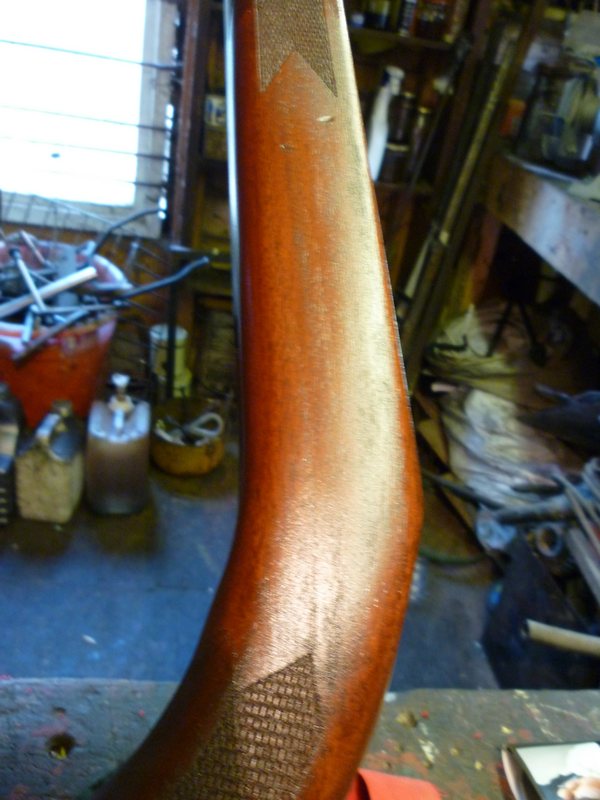
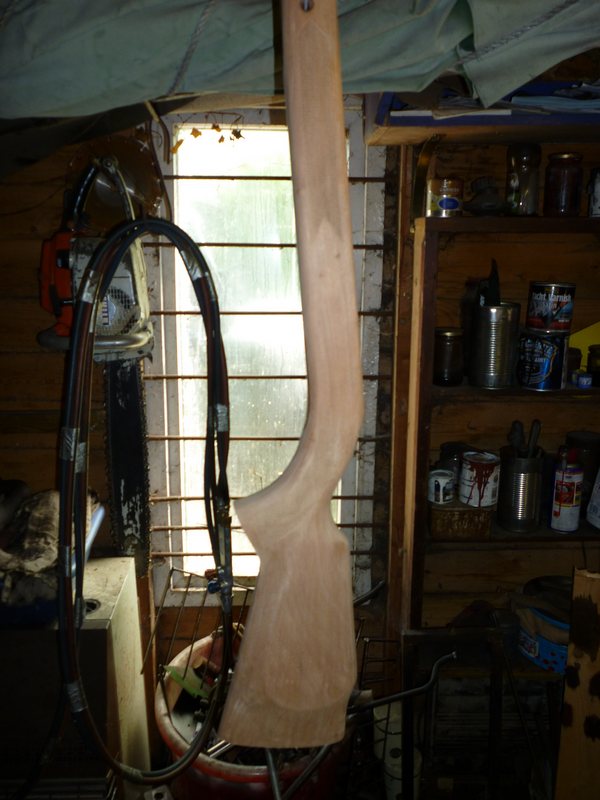
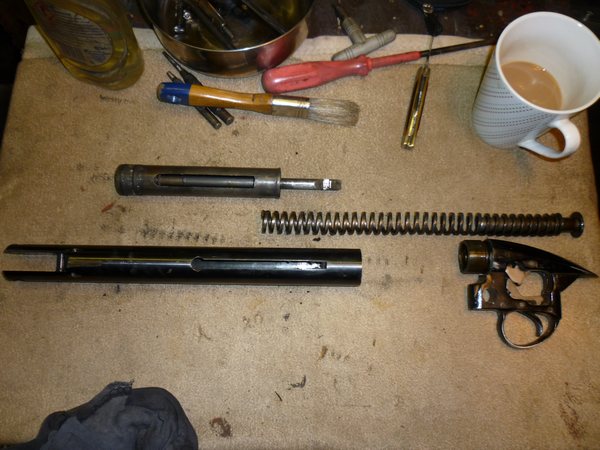
pics are of a bit of a dry run....will leave it to dry and then start rubbing in the oil t5o give it a blooom and depth of colour
thats all at the moment folks...
-
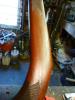
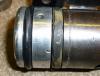
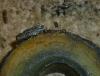
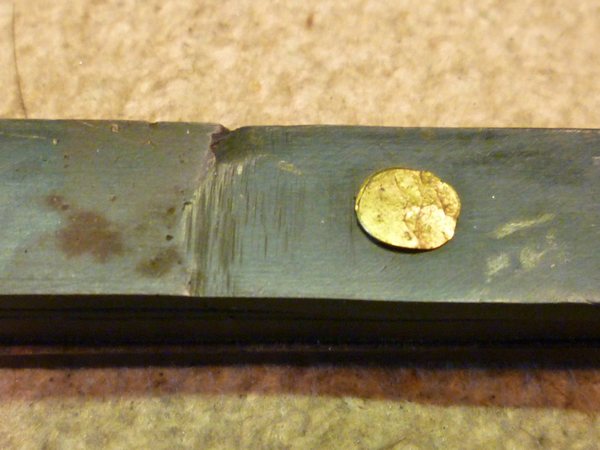
You have yet to face your biggest challenge......finding a pellet to work well in it, after trying hundreds I found that, even though they dropped down the breach a few mil. that AA Field were pretty accurate. Your barrel appears to have been machined off centre or is that a distortion caused by the close up piccy? + never heard of a Merc S having an anti bear trap?
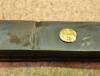
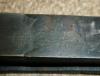
qite right ...thats what i was saying ...the damage occured as a result of the merc s NOT having a bear trap.....and that pic of the breech face barrel IS WEIRD...
....its exactly the same either side.. -
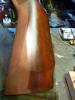
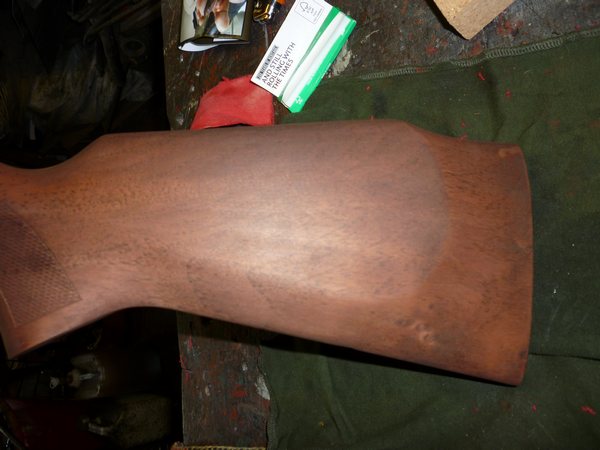
now we are on 70% dark 30% red..............
i have left it to evaporated inbetween coats and will leave it until tomorrow when i will start to apply the made up stain rubbing oil which will make it bloom and let the wood live and a semi glossy finish 'cept better in the last pics........
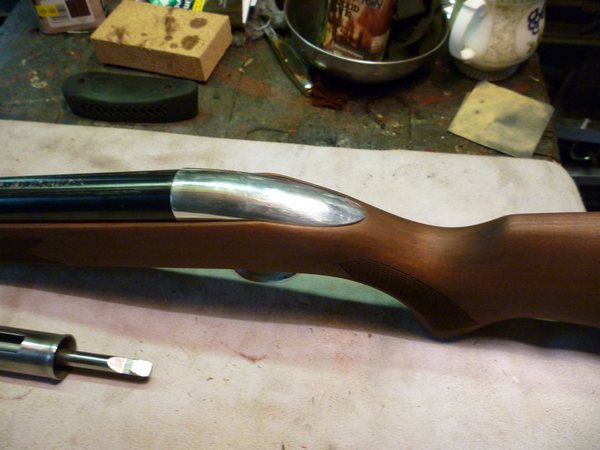
later i will assemble the barrel and chamber and trigger....and drop it in the stock to see what it looks like before i start to oil it.................will drop off a couple of pics later to show you....


-
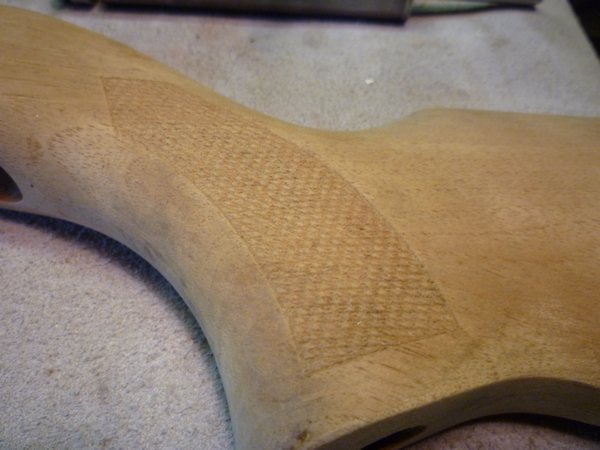
now ive gone to 50% red 50% dark...............

-
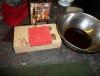
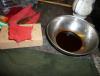
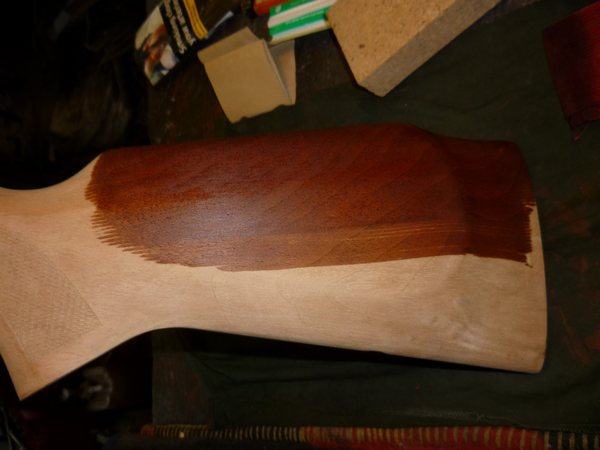
First i mix up my stain...im using 2 different stain colours (NOT WATER BASED STAIN)...im on 20% red 80% dark ..............fresh piece of courdoroy cloth and sweep it on...........let it dry for and hour or so................last pic dry.....


-
DONT SET THE SCARIFIER TOOO LOW..............you will regret it....drop it bit by bit until it does the job ...otherwise the grass will be growing from the roots and that will take a long while to come right
-
At this point before i start posting the woodwork....i must mention Chris @ Eastern Gun Co......he was the one who procured the rifle for me.....his dad apparantly is an air rifle NUTTER and has several hundred of them and i mean several hundred !!....chris was brought up with them as a young boy and has been fiddling with them since he was 7 years old....his knowledge of early late air rifles between him and his father is extensive.....i fancy myself that im good at tracking down parts....but i tell you know i am a rank amature compared to him......this rifle i know now will be a stunner to shoot and right on the legal limit...thanks to chris.....his gun shop which opened 3 months ago is getting busy by the day....and he is never off the phone......taking orders for air rifle parts....and is VERY good humoured and a damn good larf....................and the shop is next to my fish & chip shop...

he has taken on an aprentice now and has a gunsmith in house 4 days aweek working on shotguns and full bore rifles...............i just love it when i see people by their own hard work succeed.....something that i never did...(not for want of trying tho.
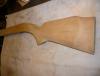
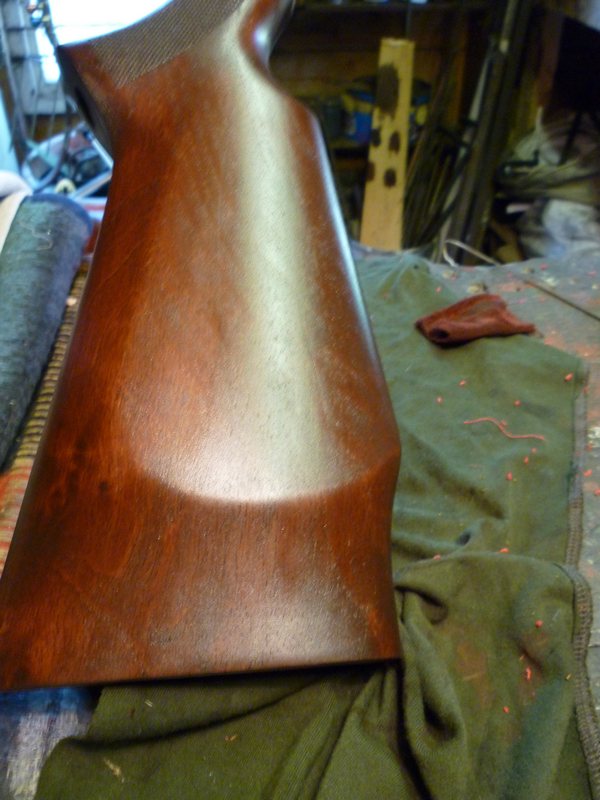
)anyway ......THE STOCK.....
dont even think of asking me how i stripped it.....as a result of elf&saftey and bloody EU laws a job that should have taken an hour took me 6 hours..the latest strippers are BLOODY USLESS.............


-
so i have started to polish the trigger housing...and fitted it to the stock (which i had started to strip)...............
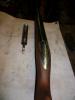
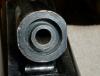
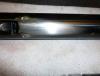
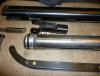
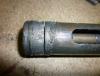
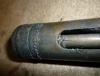
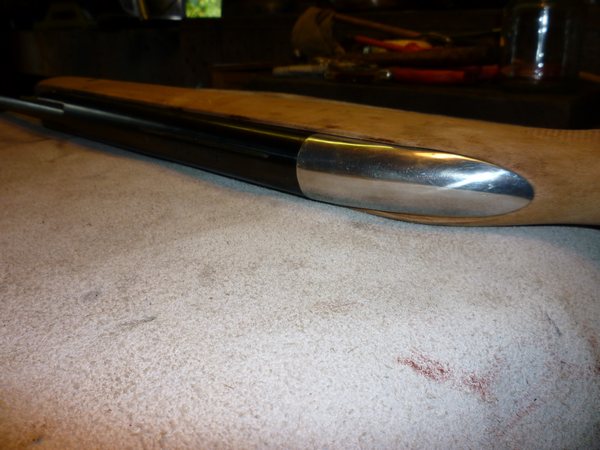
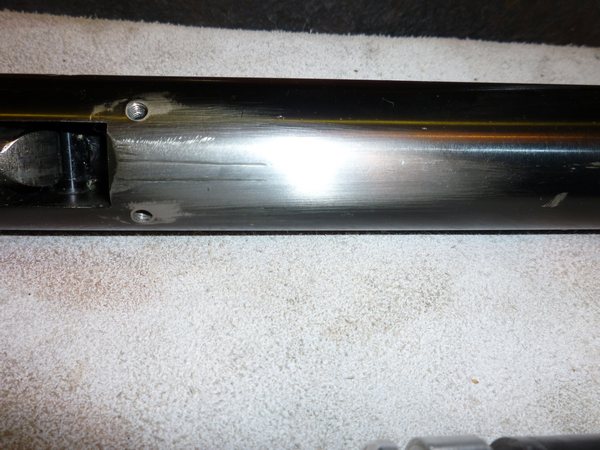
The Barrel....HHmmmmmm
 ......it was waggly....not good.and really.... it was cacked up ....and i mean cacked up inside.....so i had to get it sound mechanically first....problem was the swivel pin....was missing a spacer and a set washer...when screwing up it didnt draw the body together.....and it was scratched and the detante lock was not proper.....so all apart and i milled the side faces of the barrel off flat with very fine emery sitting on a peice of plate glass.....the detante lock came out and i worked that up on a very fine wetstone then finished it off on the bench polisher using jewelers rouge....the levelling /stop pin came out and i turned it 180 deg's and put it back....reassembled everything ....and when i close the barrell now it makes that satisfying ker-lunk and when you gently hold it and hit it with the back of your hand it rings true ....sooo result 100% perfect
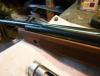
The breech seal area is all nice and clean now and i stripped the barrel out of all the rust...lead....and muck....i am seriously impressed with the quality of the rifling lands crisp deep and clean.....so will have to shoot it in now..........
Some good work as usual going on there ditchman
hey...my man how are you..?...longtime no squeak


-
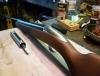
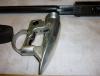
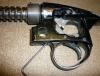
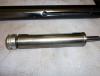
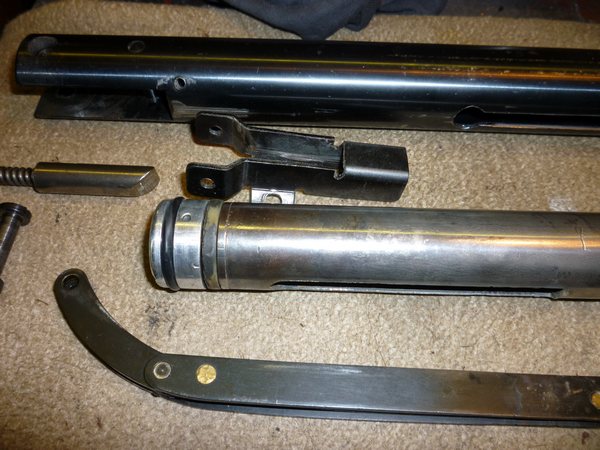
on the first pic you can see the shape of the cocking lever....
the rest of the pics are of the trigger mechanisms.........................which is one of the simplest and best air mechanism i have ever took apart,,,,there are 2 VERY fine adjusting screws (fore and aft) of the trigger guard ......
the trigger unit ...unlike the rest of the rifle is aluminium....and messing around with it saw flecks of paint /colour coming off....so i did what i did when i was messing about with the air arms rifle...i took it all off and supper polished it....as you will see later..


-
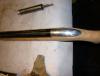
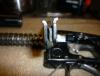
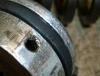
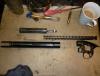
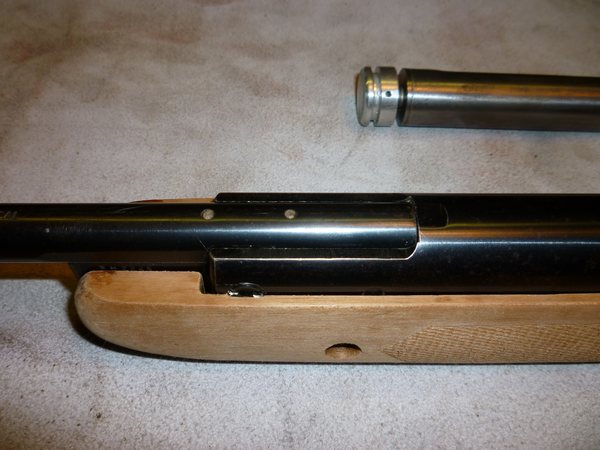
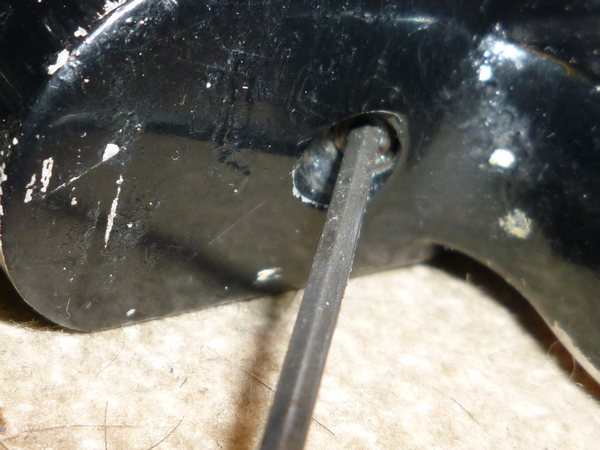
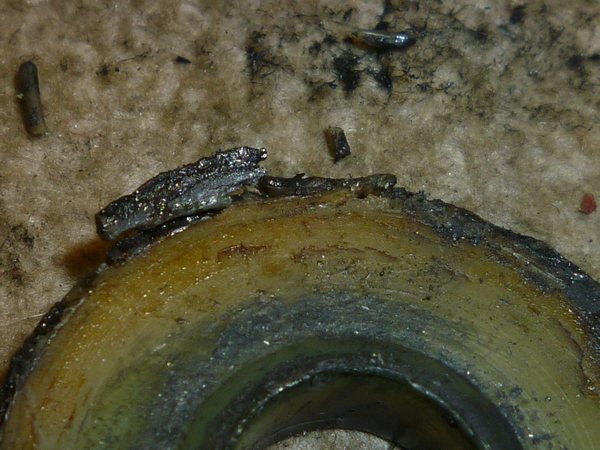
anyway........the cocking lever.........what a ballsup there !.....this rifle is early so it dosnt have a "bear trap"...but it does have a very very good trigger adjustment....i rekon it was adjusted too much tooo light and it let go as the cocking lever was returning to position...thus snapping the lever........it was mended VERY badly...see the welding and bloody awful reverting yuck !....AANNNDD...the bloody thing was still put back misaligned see photo #3...as a results it scractched/goged out long scars in the body/chamber and knirled over the ram guide...which i have now cleaned up and flattened off....the good thing is the pressure chamber is in very good condition...thank chrust.....aaannnd to top it all off....the cocking lever is not a mercury s part......
talking to chris at the eastern gun company in Brundall...he says he is not surprised as when BSA were in a rush to get an order out and they were short of parts...they used parts from different models to keep the delivery dates the same.......anyway he has ordered a new ORIGINAL part for it and it is a much better constructed peice than that bit of rubbish....whick is made from 2 plates whith a bit of plastic inbetween revited together.....
-
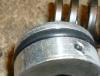
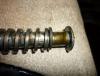
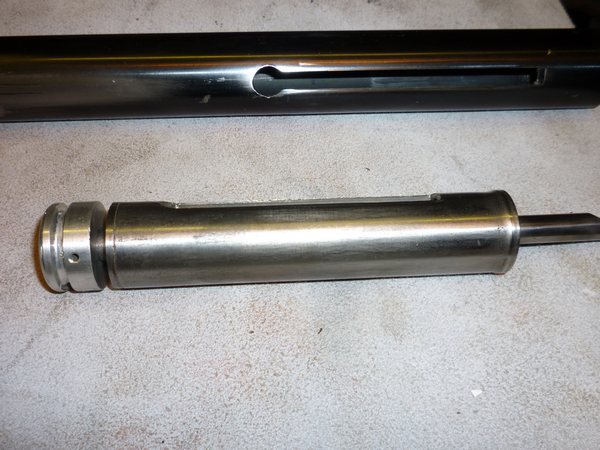
cleaned up the internals....you can see how badly worn the neoprene buffer is and the "O" ring pressure seal.....
-
so took the "guts" (spring..ram...piston...seals...).......YUUUCCKKK.....................
its a wonder it was firing at all...
-
Oh here we go then.
I was hoping this would be in the motoring section.
Merc S rebuild!
i knew ...i knew you wouldnt be too far away........thats why i made mention of the turbo-charger.....
....you will just have to wait...


"i am mainly" Merc S rebuild
in Airgunners
Posted
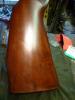
put first coat of rubbing in oil on this morning......it dried very quickly....but it is doing what it should do....starting to "liven up" the wood.....
doing this oil finish is the start of a long hard journey ..